
Guava glazed cream cheese cupcakes combine soft pink cake, a creamy cheesecake-like layer, and a shiny guava topping. Inspired by Hawaiian guava cake, they’re topped with guava glaze and coconut. Guava Glazed Cream Cheese Cupcakes Inspired by Hawaiian Guava Cake My guava glazed cream cheese cupcakes are inspired by Hawaiian guava cake, a dessert I grew up seeing in bakery…
Read More
Latest from the Blog
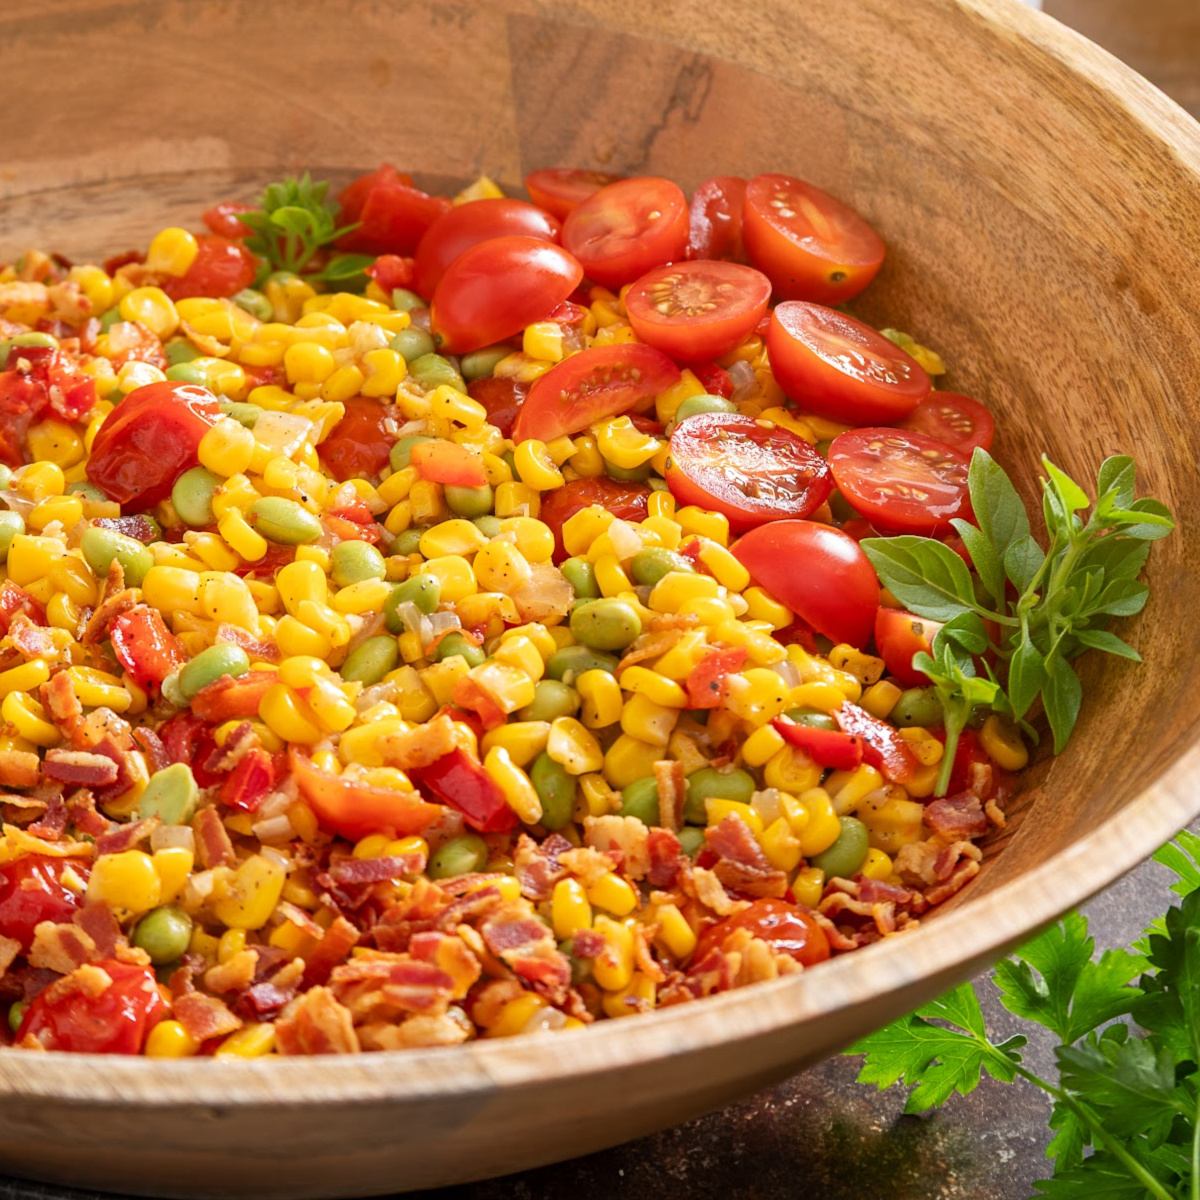
Corn Succotash
Corn succotash combines sweet corn, edamame, crispy bacon, and juicy tomatoes in one skillet. Every spoonful is packed with sweet corn, smoky bacon, tender vegetables, and plenty of texture. Corn Succotash with Edamame and Bacon I’ve taken a different approach to traditional corn succotash, which normally relies on lima beans. Instead, I use edamame along with sweet corn, crispy bacon,…
Read More
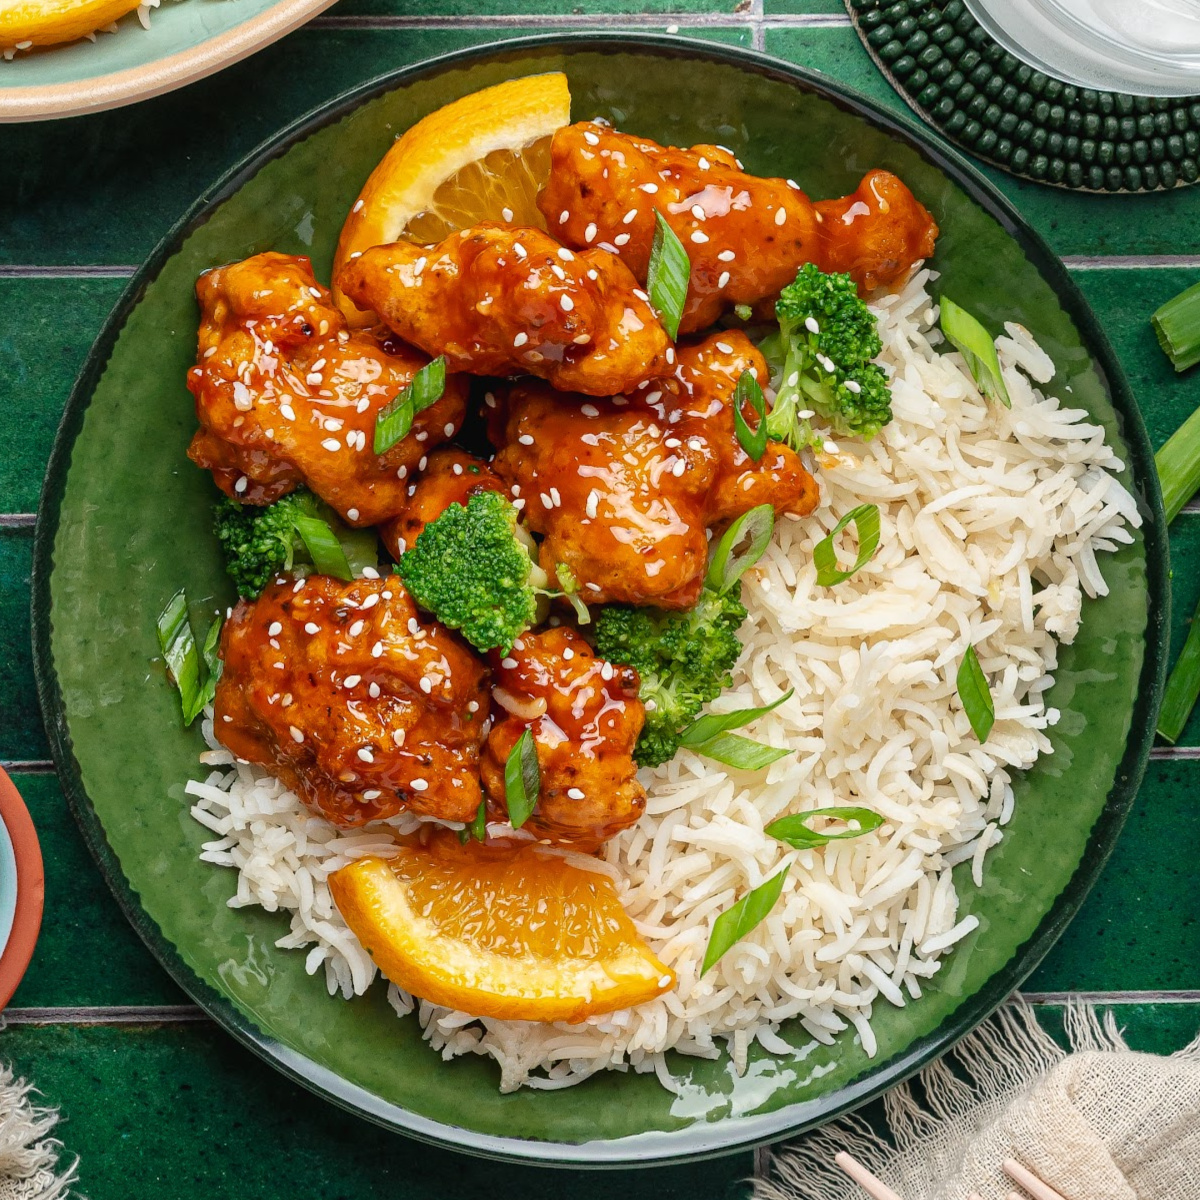
Orange Chicken
This orange chicken starts with tempura-battered chicken thighs fried until crisp, then tossed in a sweet-savory orange sauce. The coating stays substantial enough to stand up to the sauce while the chicken stays juicy inside. Orange Chicken with Tempura-Battered Chicken Thighs When it comes to homemade orange chicken, everyone focuses on the sauce. Which is reasonable. Most of the testing…
Read More
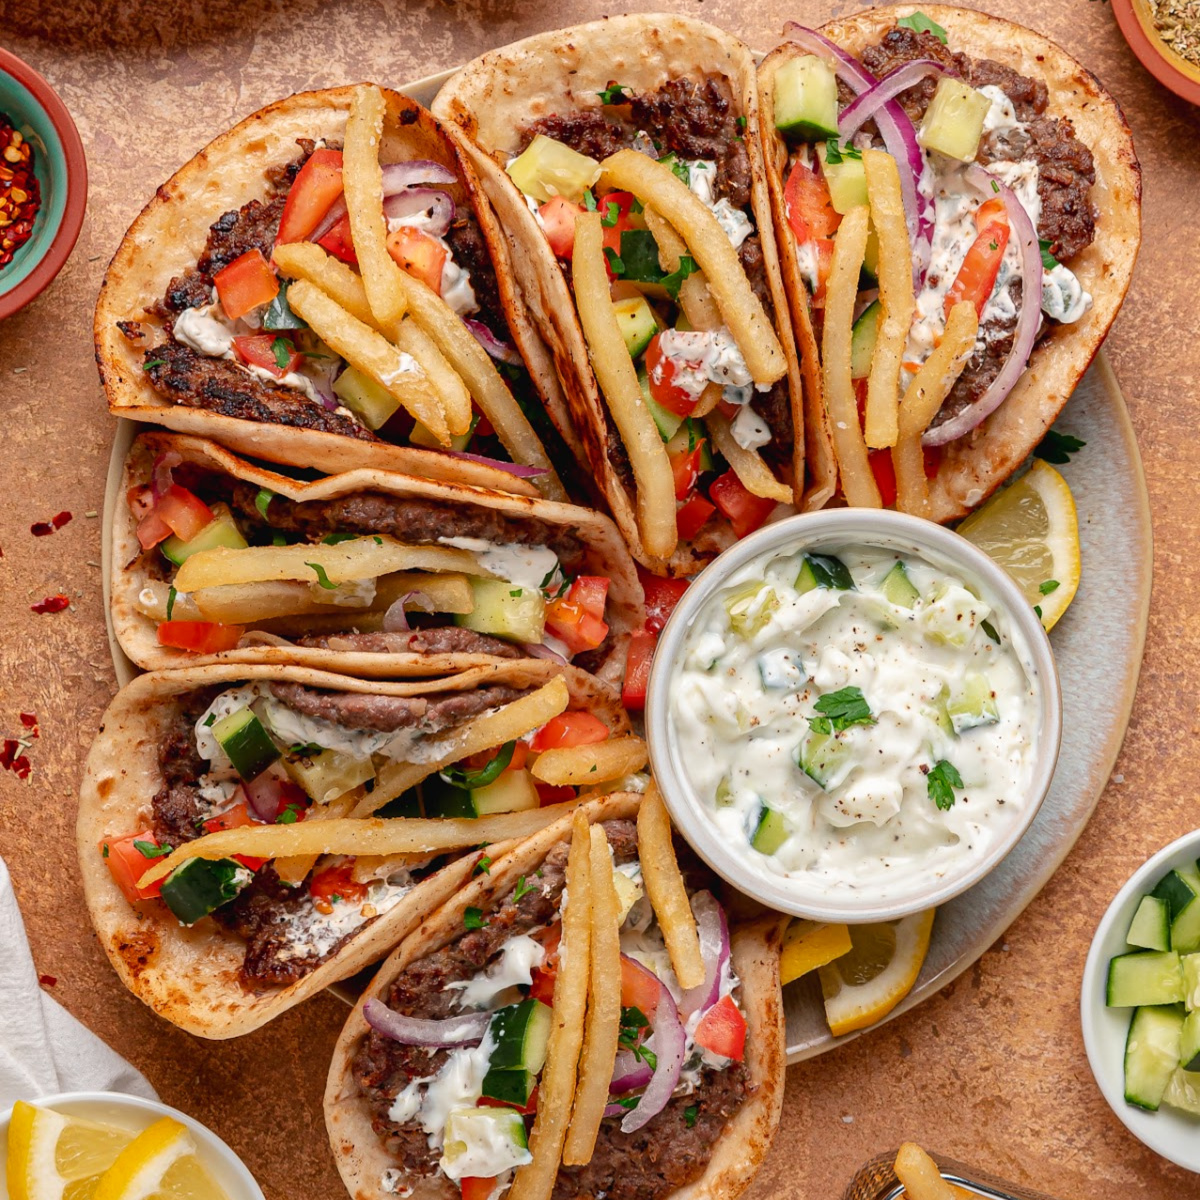
Gyro Smashed Tacos
Gyro smashed tacos start with a thin layer of seasoned beef pressed directly onto a tortilla and cooked until browned. You get the flavors of a gyro with crispy edges and none of the loaf-making process. Gyro Smashed Tacos That Require Extra Napkins I combined all the things I love about a good gyro and turned them into these gyro…
Read More
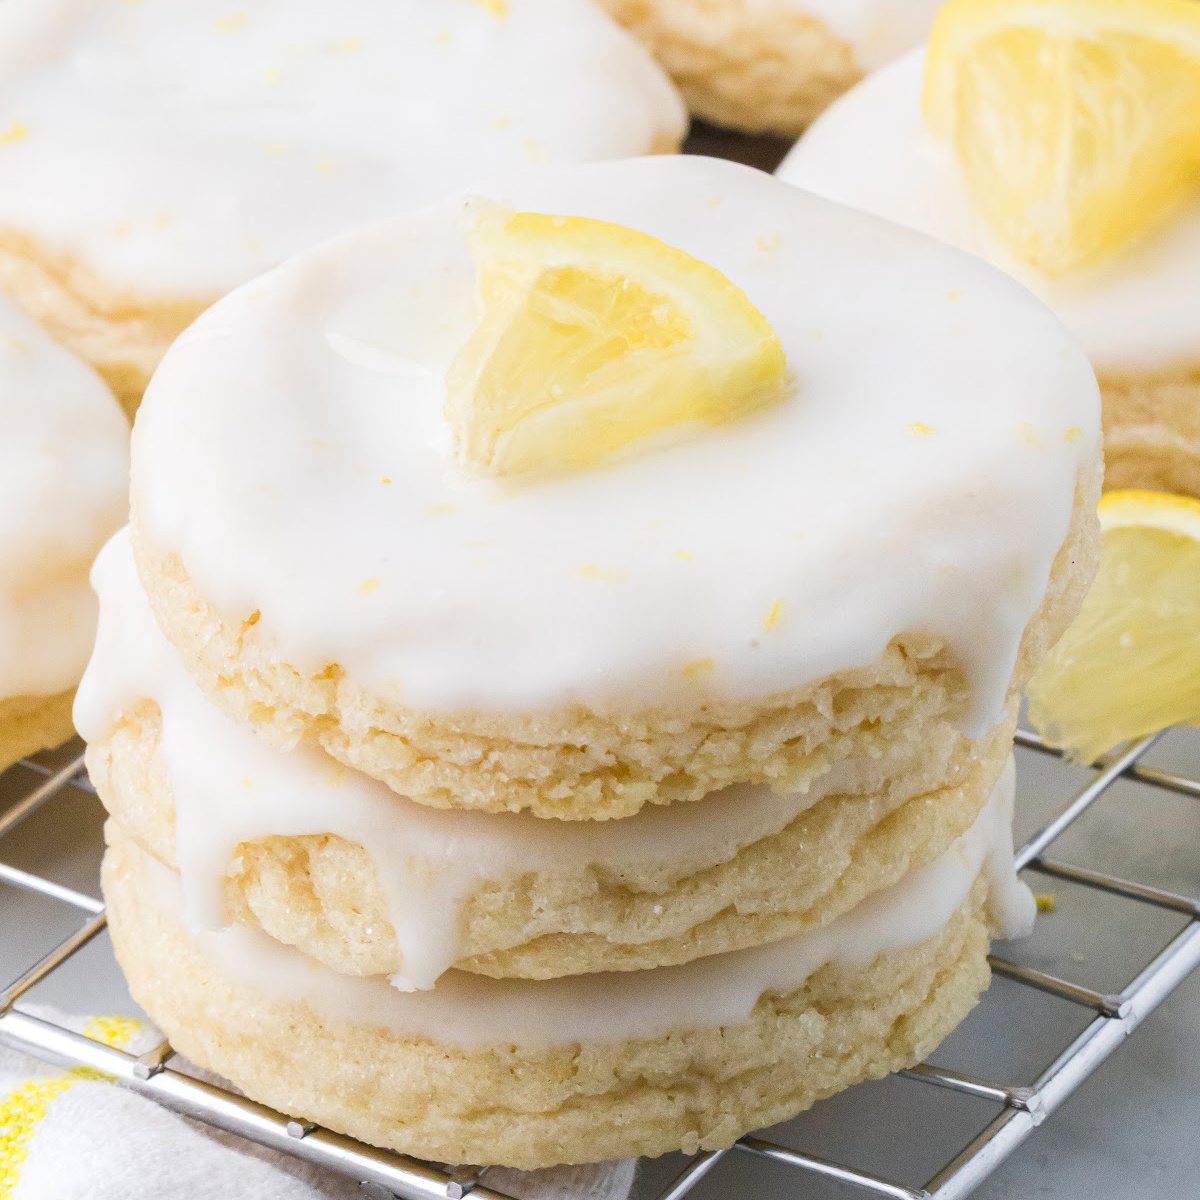
Glazed Lemon Sugar Cookies
Lemon sugar cookies made with fresh lemon juice and zest, then dipped in a thick lemon glaze. Rolled in sugar, baked soft, and finished with a generous layer of lemon. Soft Lemon Sugar Cookies with Thick Lemon Glaze Some lemon cookies depend on extract and a drizzle of icing to do everything. My glazed lemon sugar cookies get fresh lemon…
Read More
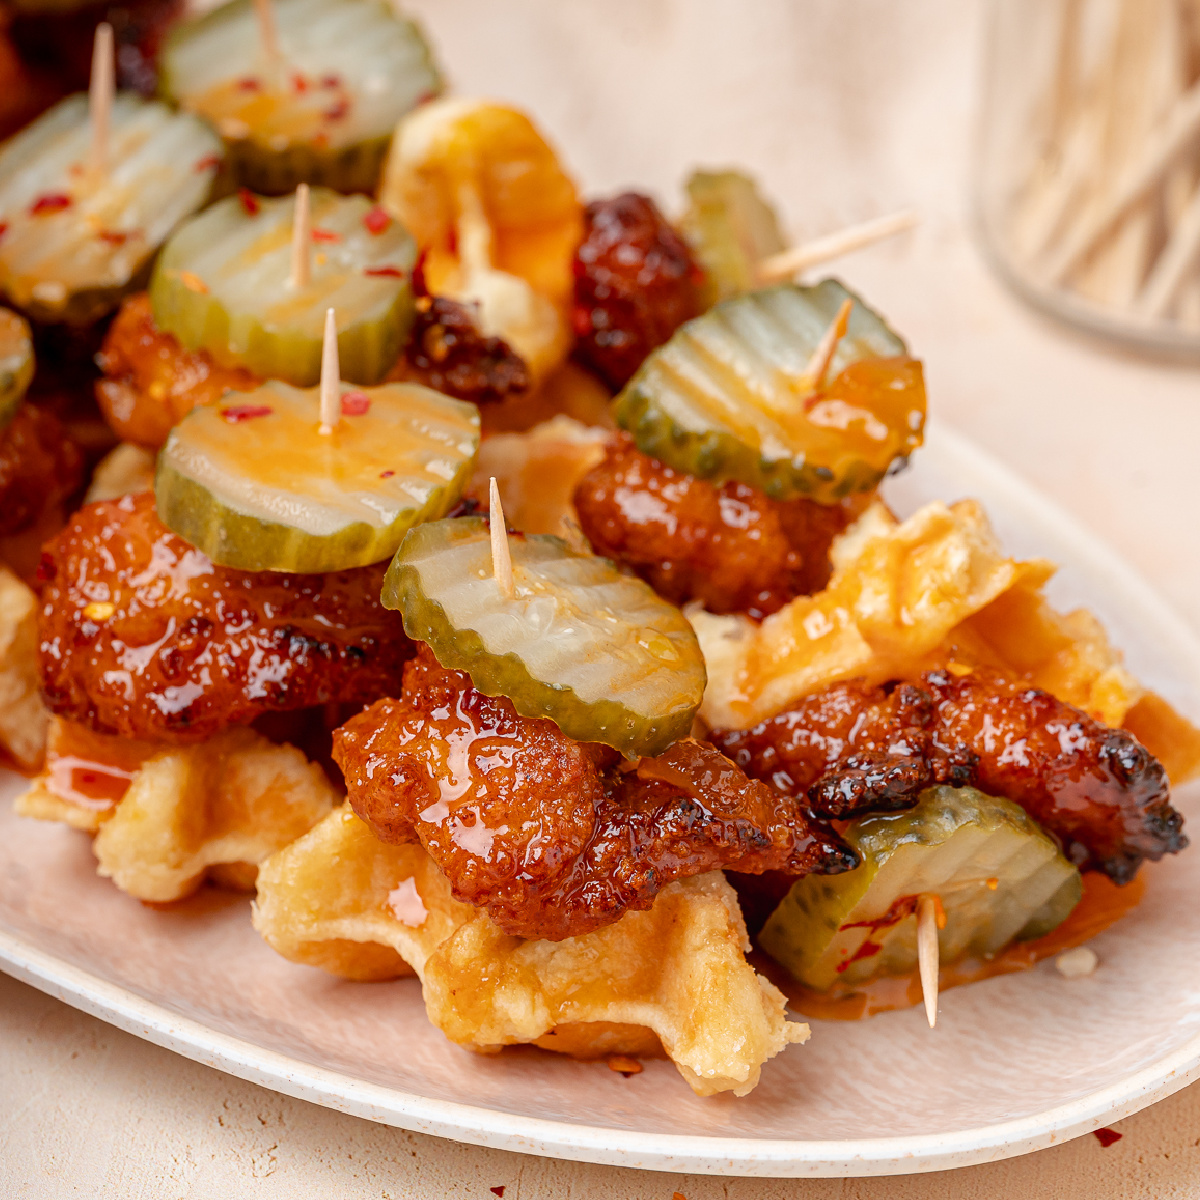
Hot Honey Peach Chicken and Waffle Bites
Hot honey peach chicken and waffle bites take everything good about chicken and waffles and stack it onto a toothpick with dill pickles and peach hot honey. The pickle is what makes people pause for a second, then immediately grab another. Hot Honey Peach Chicken and Waffle Bites With Pickles My hot honey peach chicken and waffle bites have a…
Read More
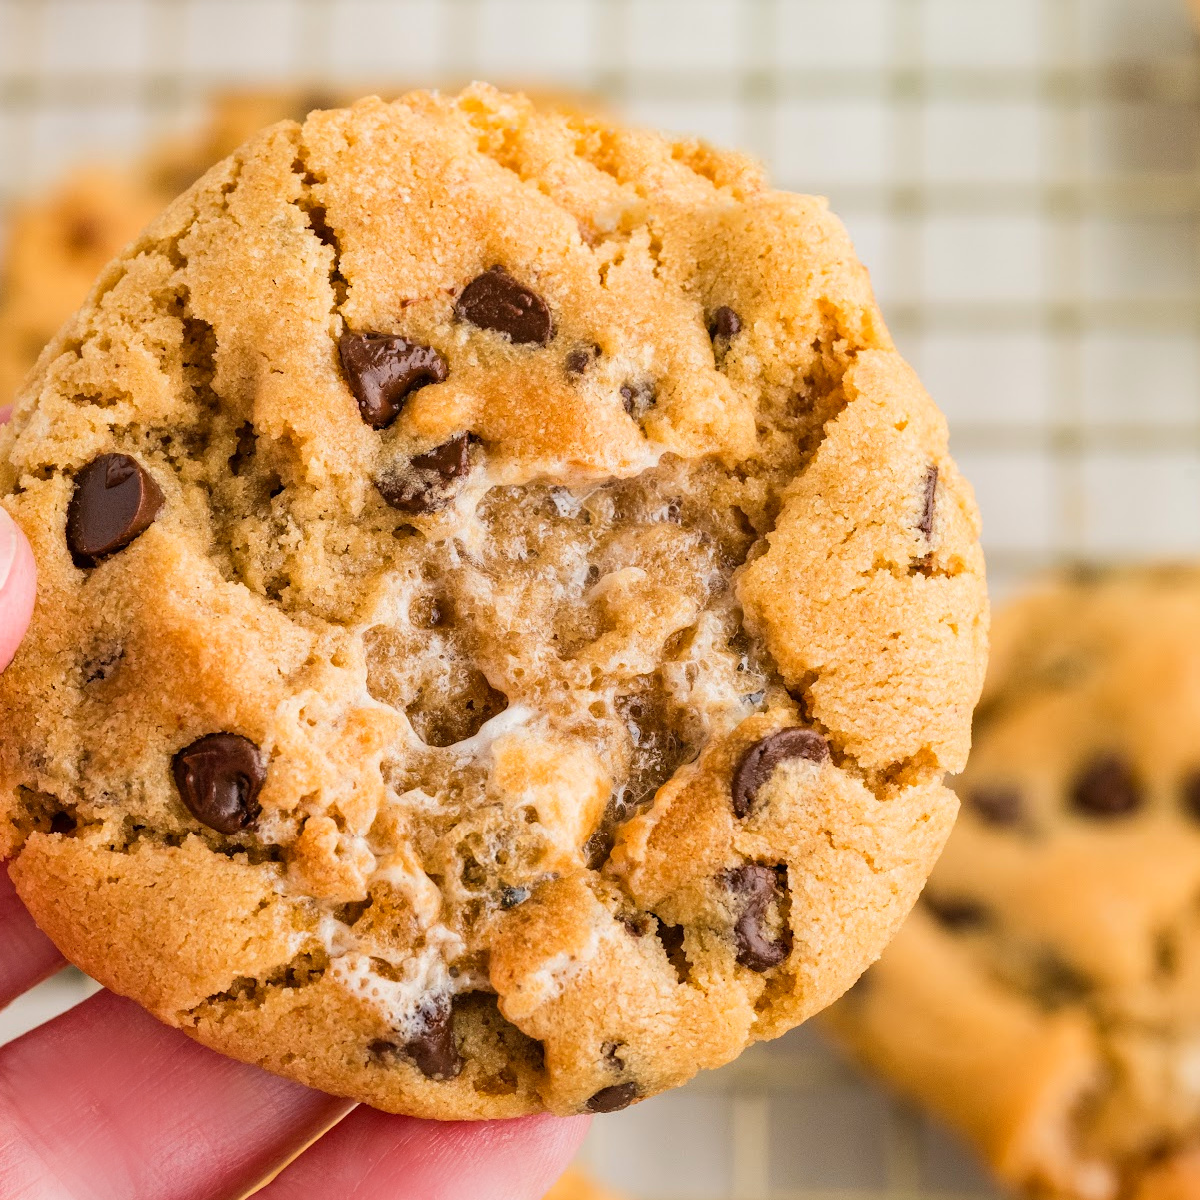
Peanut Butter Marshmallow Cookies
These peanut butter marshmallow cookies bake up thick and chewy with crisp edges, melty chocolate chips, and toasted marshmallow pockets bubbling right through the tops. Chilling the dough gives them a bakery-style center that stays soft long after they cool. Peanut Butter Marshmallow Cookies With Toasted Marshmallow Pockets These peanut butter marshmallow cookies are thick and chewy with crisp edges,…
Read More
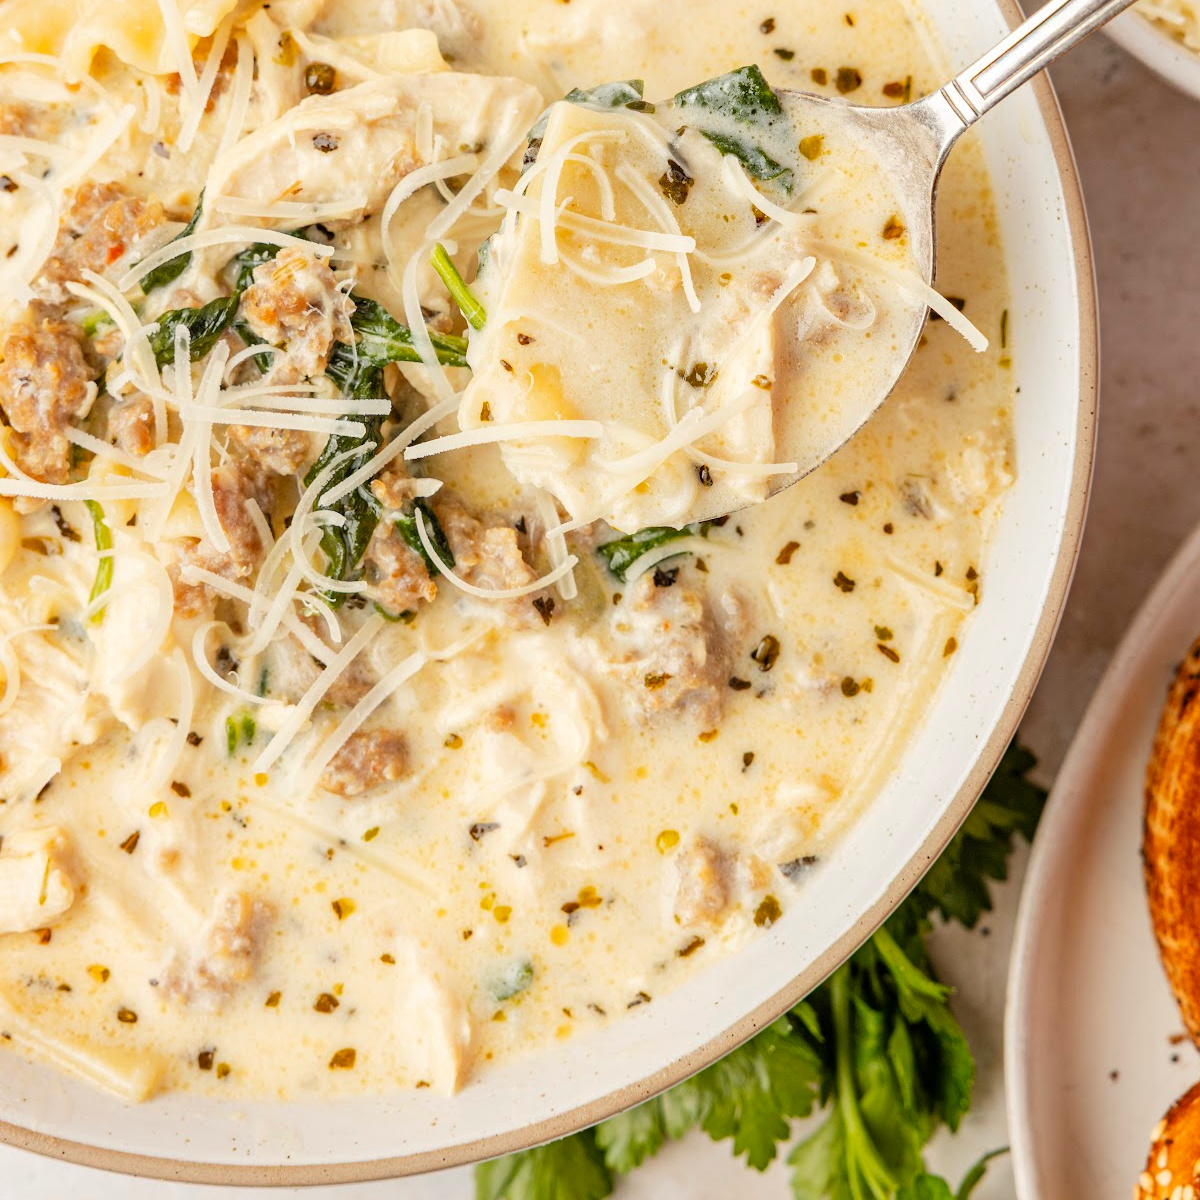
White Lasagna Soup
White lasagna soup turns creamy white lasagna into a rich, cheesy soup loaded with sausage, chicken, spinach, ricotta, mozzarella, Parmesan, and broken lasagna noodles. The broth gets its flavor from melted cheeses and a little nutmeg, giving it all the flavor of white lasagna without the layering. White Lasagna Soup with Ricotta, Spinach, and Sausage I wanted this white lasagna…
Read More
- 1
- 2
- 3
- …
- 185
- Next Page »